📖
eVOLVER
  • eVOLVER Documentation Wiki
  • General
    • About Us
    • eVOLVER Community
      • Code of Conduct
  • Getting Started
    • Buying eVOLVER
    • Part Sourcing
    • Unboxing and Setting Up
    • Software Installation
      • DPU Installation
      • Electron App (GUI) Installation
    • Configuring Computer and Networking
      • Router Setup
    • Calibrations
      • Temperature Calibration
      • Optical Density Calibration
      • Pump Calibration
      • Manual Calibration - calibrate.py
  • Upgrade Base eVOLVER Hardware
  • Experiments
    • Starting an Experiment
      • Carboy Media Prep
      • Preparing Vials
      • Setup Waste Carboy
      • Sterilizing Lines
      • Loading Vials and Setting Initial Conditions
      • OD Blank
      • GUI Start Guide
      • Command Line Start Guide
      • Cleaning Up After Experiment
    • Growth Curve
    • Chemostat
    • Turbidostat
    • FAQs
    • Tips and Tricks
  • Guides
    • Use the GUI to Control Parameters
    • Building a Smart Sleeve
    • Making media bottles and splitters
    • Emergency Efflux
    • View the Server Log and Restart Server
    • Updating the eVOLVER Server
    • Change Your conf.yml File
    • Arduino Software Installation
    • Raspberry Pi Configuration
    • Command Line Usage
    • Millifluidics Guides
      • Designing Millifluidics Using Eagle
      • Constructing Laser Cut Millifluidics
      • Constructing Millifluidics via SLA Printing
      • Calibrating IPPs
      • Operating Millifluidics
  • Troubleshooting
    • Troubleshooting Overview
    • Experiment Troubleshooting
      • Contamination
      • Vial Overflow, Pump Failure, and Spills
      • Tubing and Connector Blockage and Bursting
    • Optical Density (OD) Readings
    • Vial Troubleshooting
      • Replacing Photodiodes and LEDs
      • Heating Element
      • Stirring
    • Server Troubleshooting
    • Vial Platform Troubleshooting
      • Motherboard Troubleshooting/Replacement
      • 12V Power Supply Troubleshooting/Replacement
    • GUI Troubleshooting
    • eVOLVER Maintenance
  • Hardware
    • Overview of Hardware Architecture
    • Overview of Fluidics
      • Tubing and connectors
      • Peristaltic Pumps
      • Fluidics box
    • Overview of Millifluidics
      • IPPs (Integrated Peristaltic Pumps)
      • Pressure Regulator
    • Vial Caps
      • Universal Vial Cap Construction Guide (Luer Connectors Only)
      • 5 and 7 Port Nylon Tubing Caps Construction Protocol
    • Smart Sleeve
      • Vial Board
      • 🌪️Stirring
      • Temperature
      • Optical Density
        • OD90 vs OD135
    • Motherboard Layout and Circuitry
      • 🌡️Arduino
      • Sensor/Actuator Board Slots
      • Pulse Width Modulation (PWM) Boards
      • Analog-to-Digital Converter (ADC) Boards
    • Raspberry Pi
    • Chassis
    • Light Blocker / Splash Guard
    • Known Issues
  • Software
    • Overview of Software Architecture
    • DPU
      • Calibration
      • custom_script.py
      • Experiment Data Files
      • eVOLVER.py
    • Arduino
    • Server (Raspberry Pi)
      • Calibration Files
      • Configuration Files (conf.yml)
    • Known Issues
  • Extensions
    • Adding A New Experimental Parameter
      • Power Supply
      • Specific Applications
      • Custom Calibration Code
    • Custom Experiments
      • ePACE
        • ATTiny1634 Writing
        • LUX Board Troubleshooting
      • Morbidostat
      • Extractor Column
        • Extractor Volume Maintenance
        • Experiment Start
          • Sterilizing Extractor Fluidics
          • Setting up your experiment
          • Using the extractor script
        • Extractor Analysis
        • Troubleshooting
        • Example protocols
      • Phototroph Growth
        • Setup Phototroph eVOLVER
        • Photo-eVOLVER Smart Sleeves
          • Photo-eVOLVER Smart Sleeve Construction Guide
        • Experiment Guide
    • Custom Fluidics
      • Adding a Third Pump Rack
      • Bubblers / In-Vial Aeration
        • Bubbler Construction Protocol
        • Bubbler Cleaning Protocol
      • Running the slow pumps
    • min-eVOLVER
      • About
      • min-eVOLVER Construction
        • Parts
        • Construction Protocol
      • Fluidics Setup
      • Software Installation and Startup
      • send_command.py
      • Calibrations
      • Starting an Experiment
      • ePACE with min-eVOLVER
        • [v1.1] ePACE with min-eVOLVER
      • Troubleshooting
    • Interfacing with Other Systems
  • Contributing
    • Guidelines for Contribution
    • Reporting a Bug / Hardware Failure
    • Documentation
      • Making a Forum Post
      • How to Edit the Wiki
    • Software Development
    • Hardware Development
Powered by GitBook
On this page
  • Materials
  • Construction Protocol

Was this helpful?

Edit on GitHub
Export as PDF
  1. Hardware
  2. Vial Caps

Universal Vial Cap Construction Guide (Luer Connectors Only)

PreviousVial CapsNext5 and 7 Port Nylon Tubing Caps Construction Protocol

Last updated 1 month ago

Was this helpful?

Materials

  • 3D printed (SLS, nylon PA-12) vial cap

    • the .stl file from GitHub

    • Order from

    • Get these "vapor smoothed" for better sealing

    • Get white nylon PA12 (the default black will leach dye into your media)

    • Other default settings are fine

  • 4X - 3/32" female white nylon

    • Buy at least 4 x number of caps + extra

    • Nylon required to survive autoclaving (expansion differential between normally used polypropylene and nylon 3D printed vial causes epoxy to separate)

  • (1/8" OD)

  • [Required for overflow protection]

  • [Required for overflow protection]

Construction Protocol

  1. [Optional] Mark fluid lines on a glass eVOLVER vial (see below image)

    1. This will be used to set the efflux tube height, which sets the volume in the eVOLVER vial.

    2. Tape an eVOLVER vial

    3. Using a serological pipette, measure water into the vial in increments of 5 mL

  2. Using a razor, trim nylon tubing so that it reaches the volume you have set

    1. Nylon tubing will straighten in the autoclave, so try and straighten it out as much as you can

    2. Cut to 53 mm for 20mL

    3. Otherwise, determine the correct length using graduated eVOLVER vial from step 1

      1. Cut the tubing to a longer length than you need

      2. Pushing it into the vial cap until you feel a little resistance (easy to accidentally go further, but there is a stopping point)

      3. Screw the cap on all the way

      4. Estimate where to trim

      5. Check in vial cap again

      6. Measure length when you have this correct - use this for the rest of your vials (or use cut length as a guide for cutting the rest)

    4. Cut all tubing for the caps you are making

  1. Use gloves when working with epoxy

  2. Put epoxy into mixing tray and mix

    1. You don't need much because epoxy will likely set before you finish all vials
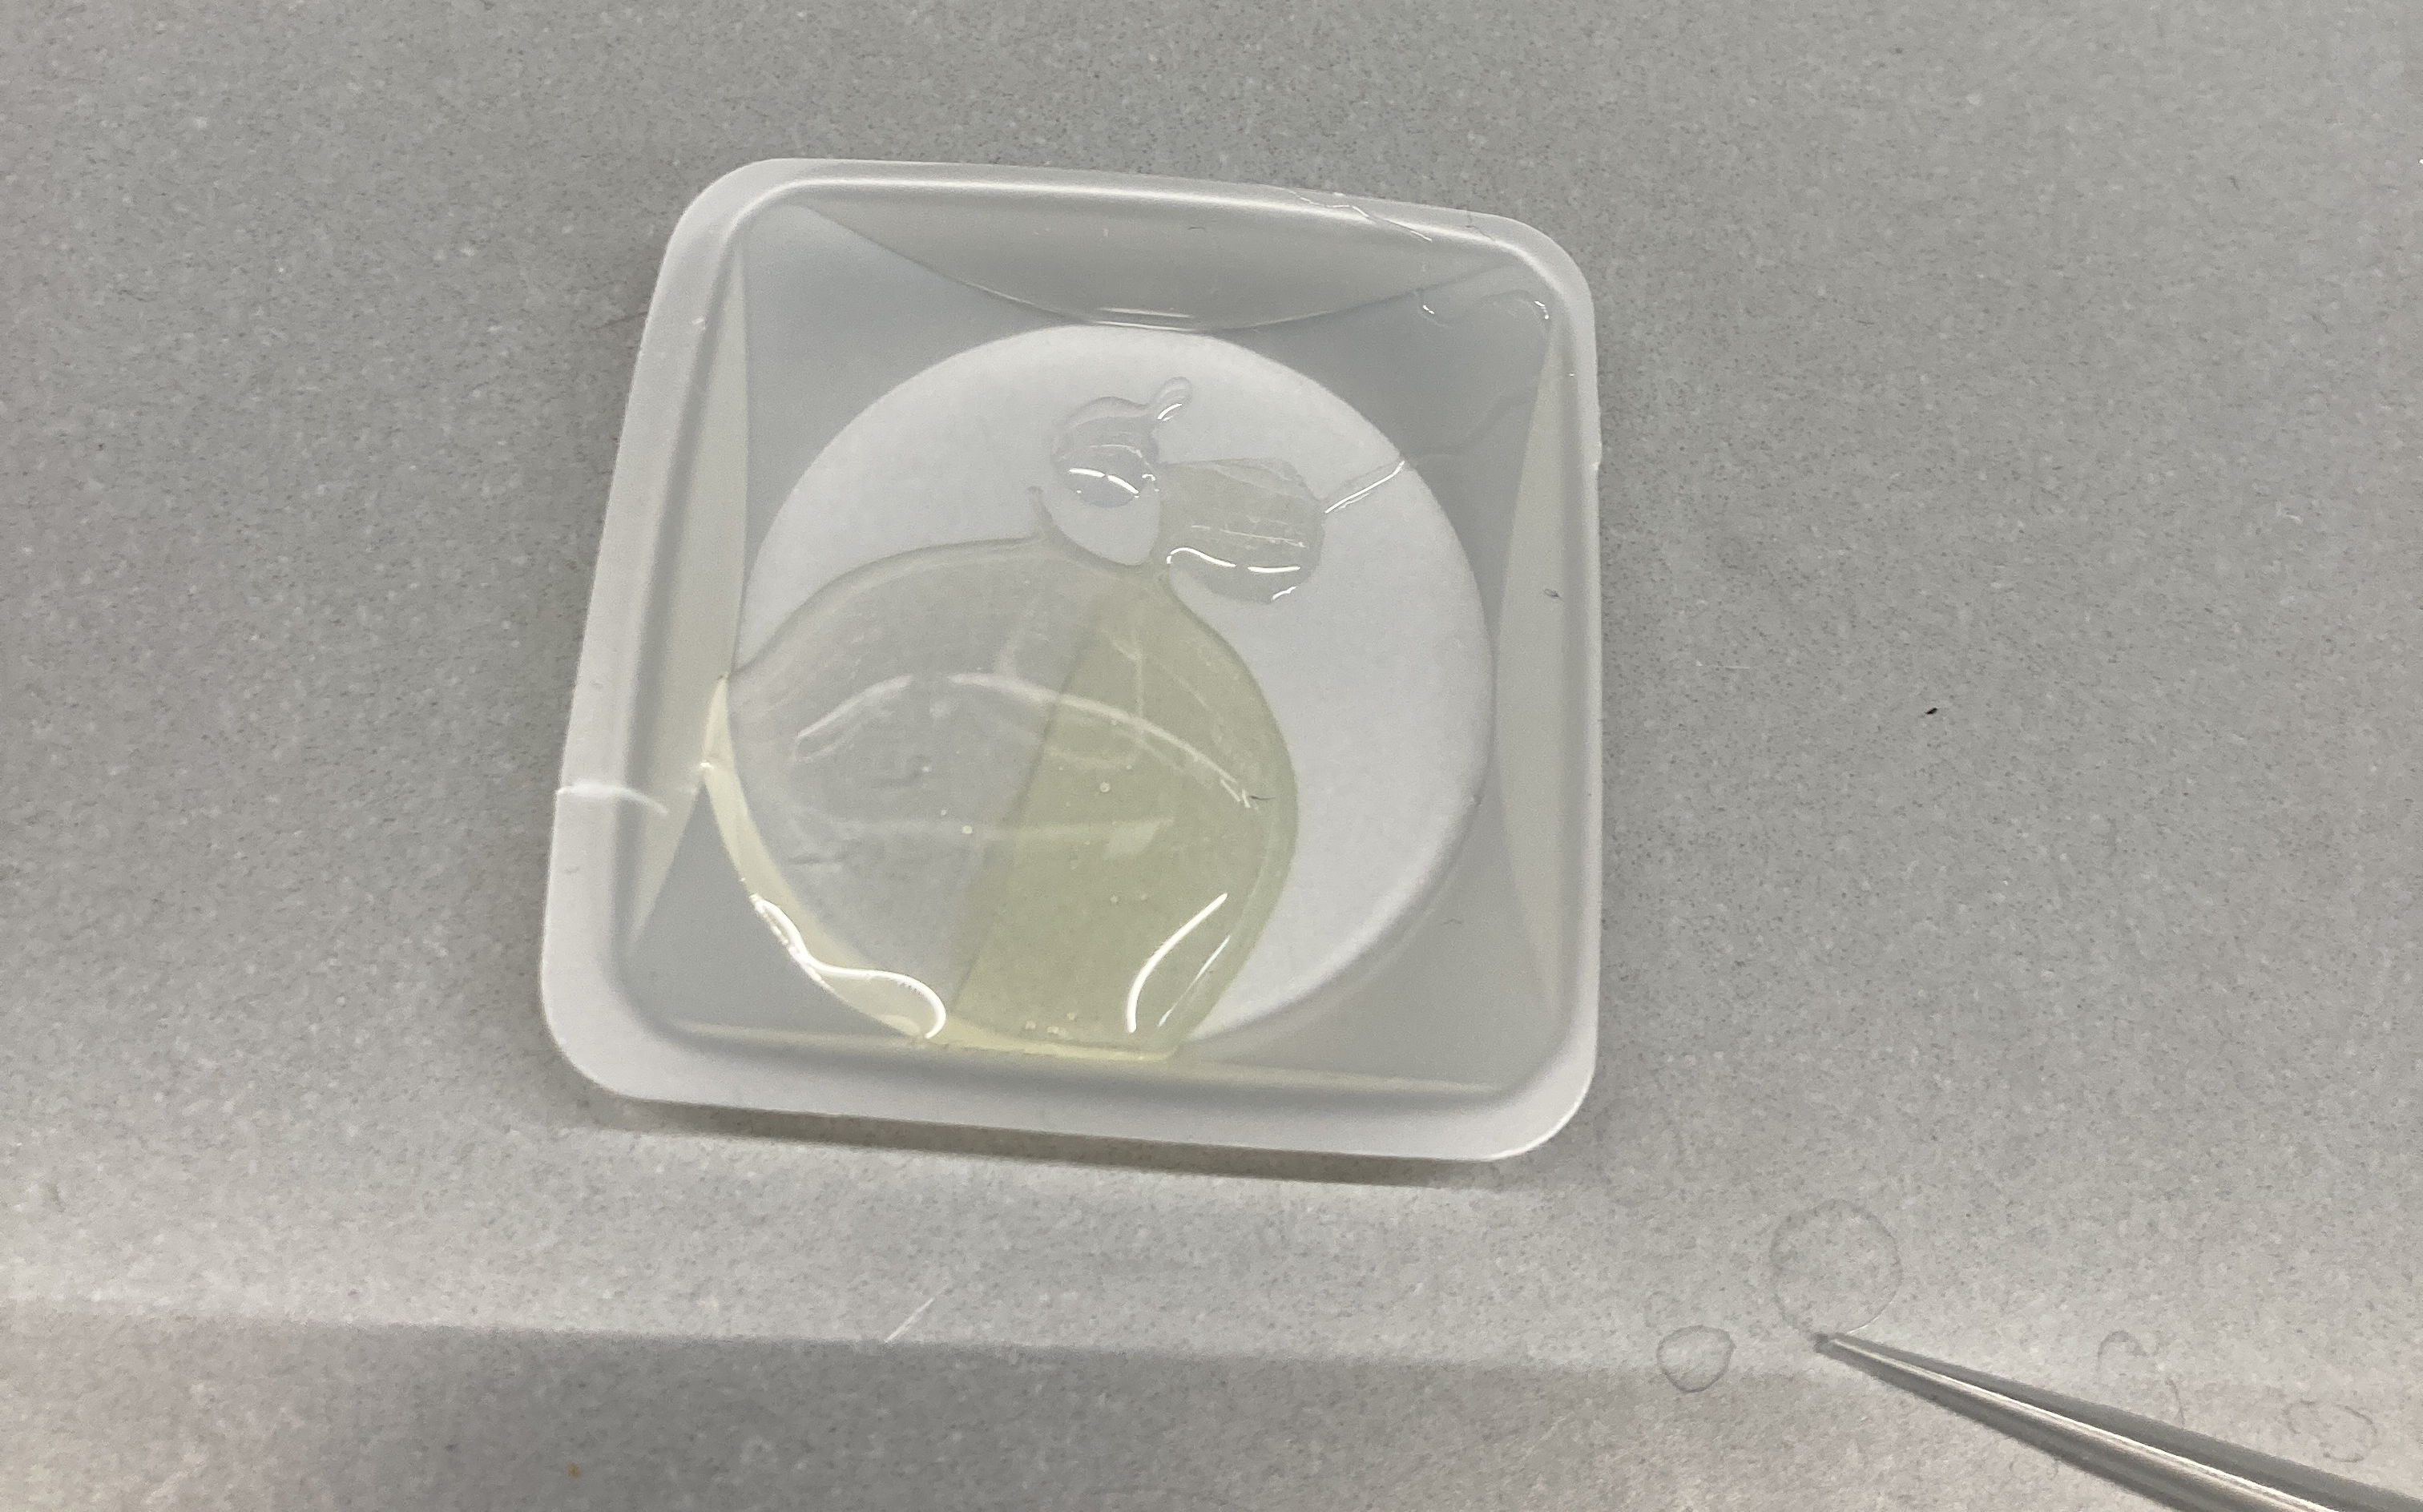
  1. Apply epoxy to barb of luer connector

    1. Be generous, but avoid the opening in the barb

    2. If you do get epoxy in the opening, blow it out or pick it out with a paperclip

  1. Press the connector into a port in the top of the cap, and twist a few times to spread epoxy

  1. Repeat steps 4 and 5 for the other ports

    1. When epoxy starts to solidify, mix more (in a new tray)

  2. Wait for at least an hour for epoxy to set somewhat

  3. Epoxy one side of the outside of efflux tube (avoiding the hole)

  4. Press the tube into left port of cap (when sampling port is facing you) (see below)

    1. Only press until you feel a slight resistance

    2. Twist once or twice to spread epoxy

  1. Repeat steps 8 and 9 for all caps

  2. Allow epoxy to set 24 hours before using

Mark the volume at each increment on the tape at the bottom of the

meniscus
Download
Hubs
barb to luer lock
Semi-clear white hard nylon tubing
Plasticweld epoxy
Rubber stopper
O ring
Universal vial cap with efflux tube in place.
(Top) Connector without epoxy. (Bottom) Connector with epoxy on barb.
Cap with efflux tube epoxied in to left port