
Vial Top View
Vial Top View

Vial Side View

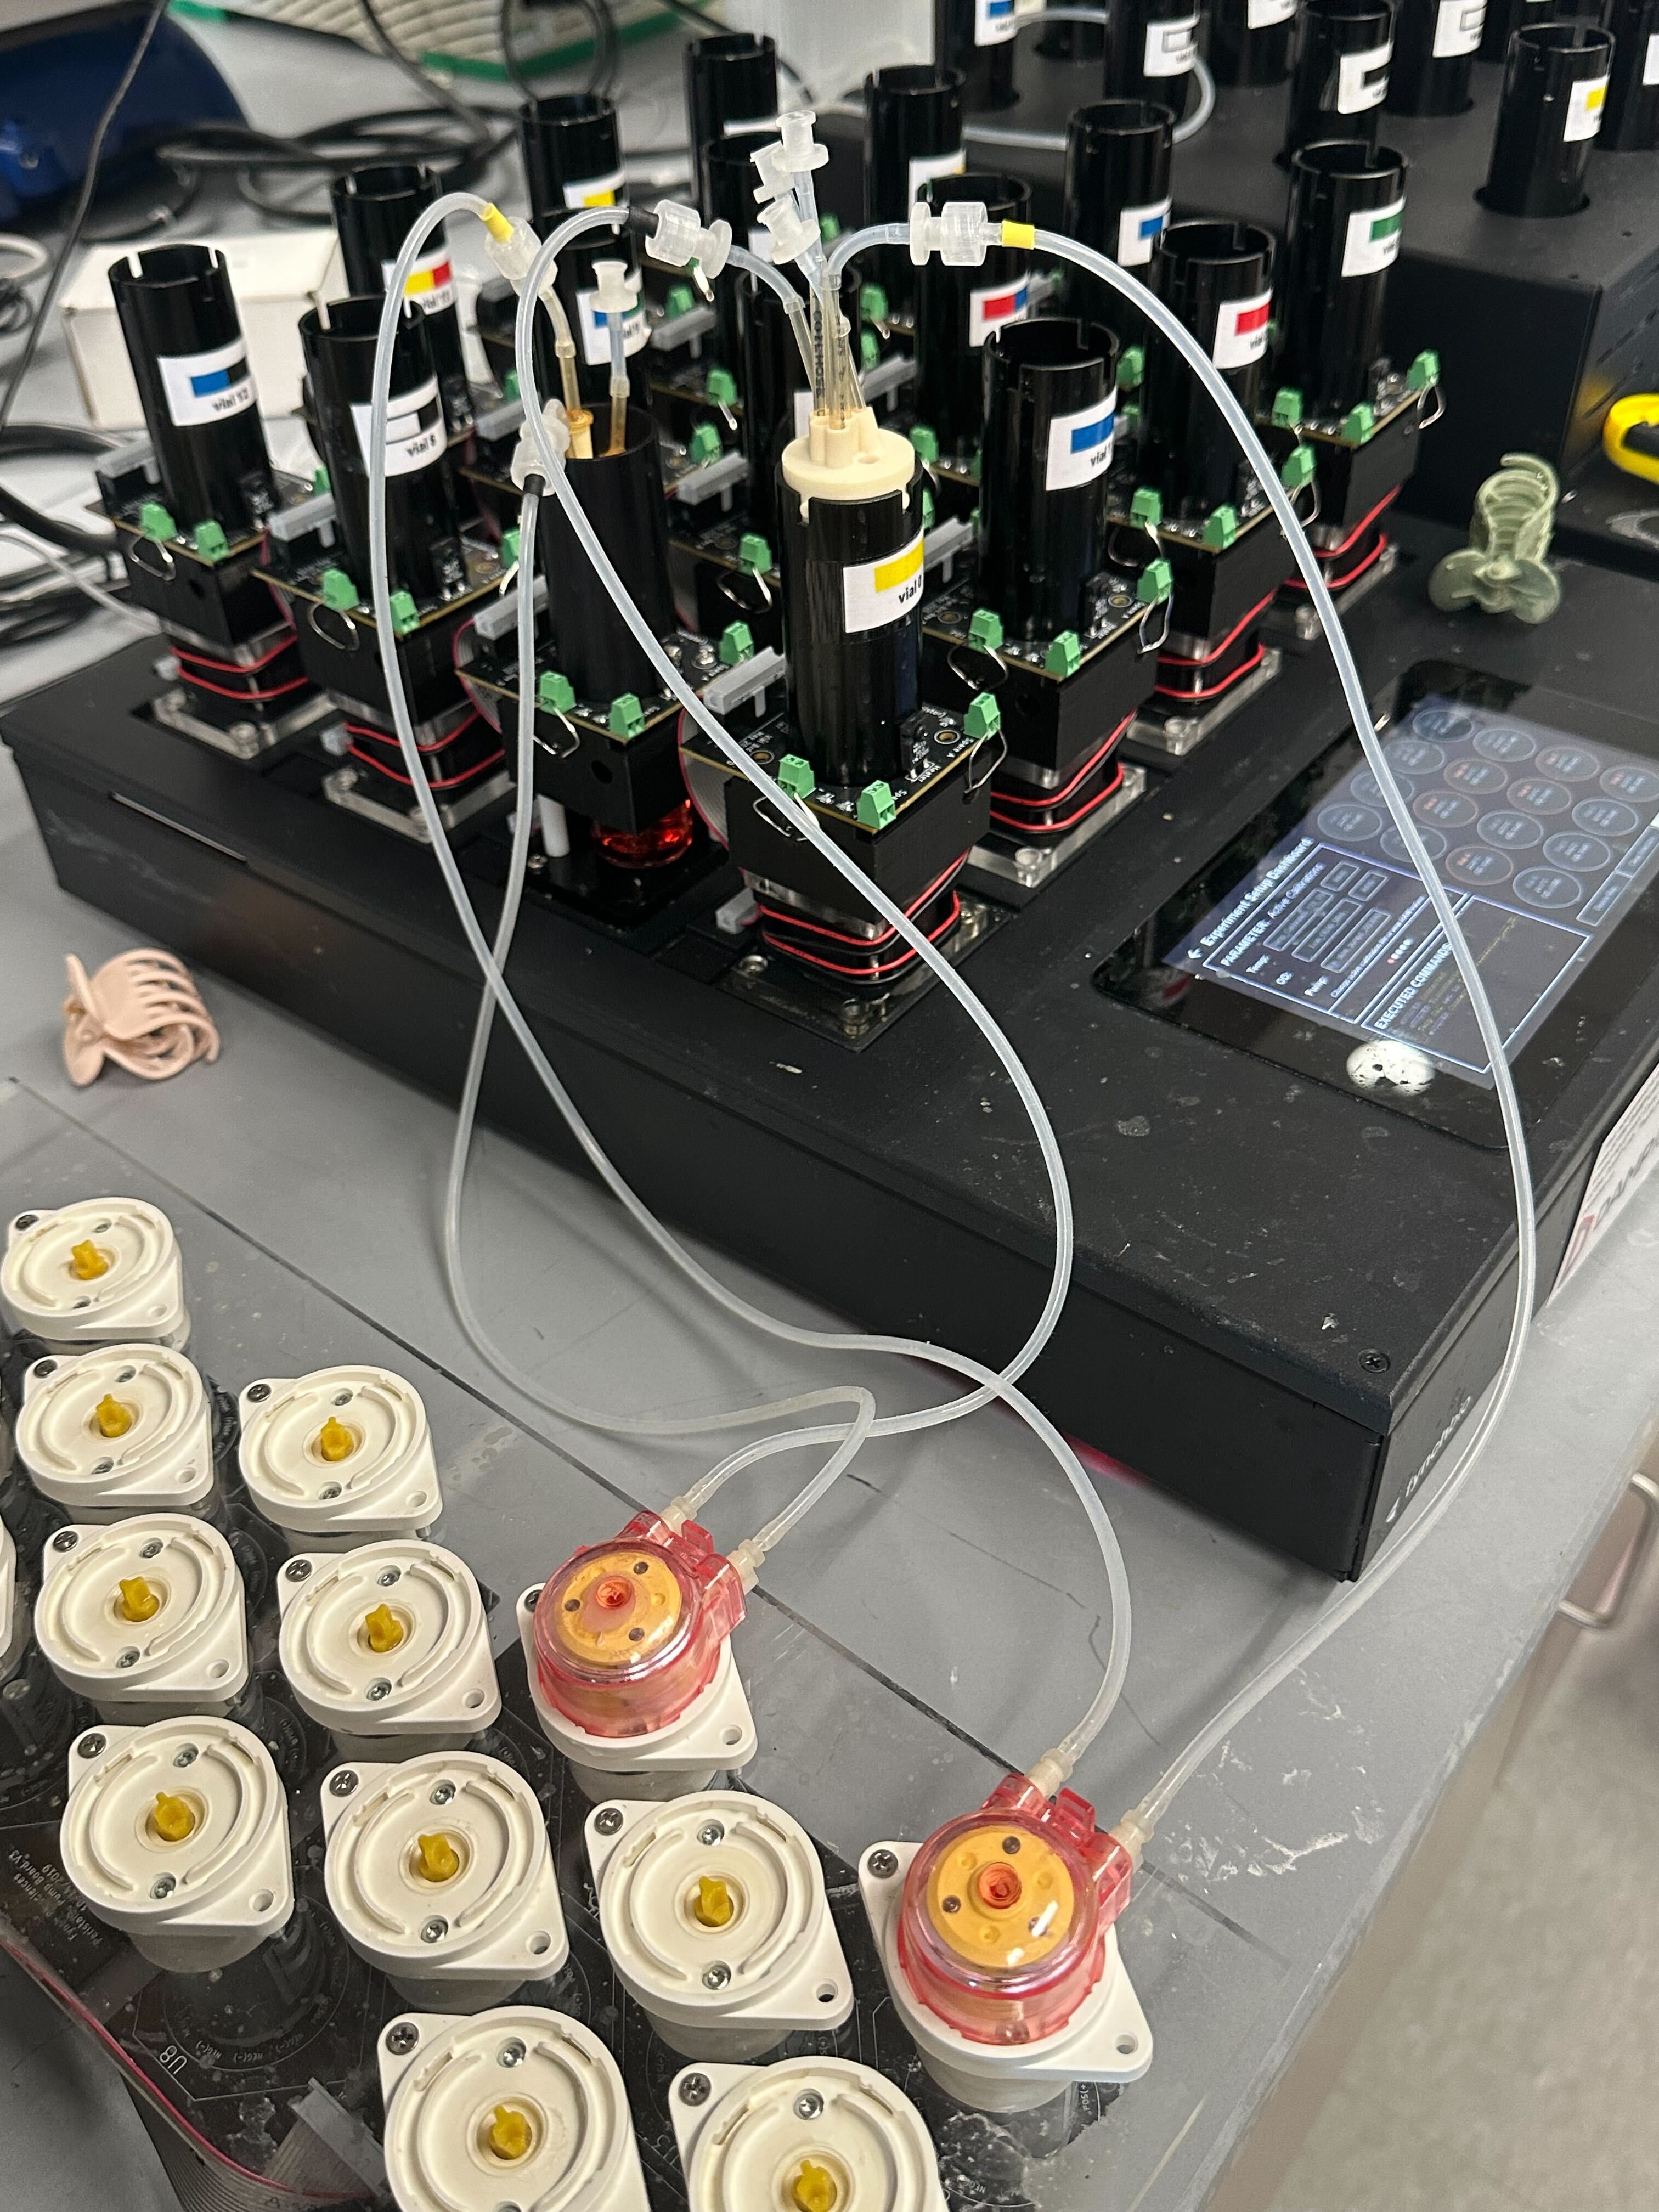
Diagram of extractor fluidics setup.

Close up view between Vial 0 (non-extractor) and Vial 4 (extractor)

Front View of just vials 0 (Left) and 4 (Right) outside of smart sleeve
Side view of just vials 0 and 4 on eVOLVER
 {% endhint %}
**4. Volume and Media Preparation**
* Prepare 20 mL of media for the Chemostat/Turbidostat vials used in the experiment.
* For extractor columns, use a media volume of 15 mL to prevent the liquid level from reaching the photodiodes/LEDs.
* Use the pumps/slow pumps to fill lines with media
* Fill non-extractor lines and vials with media first and using a secondary set of extractor vials with media in them already [run the slow pumps](https://khalil-lab.gitbook.io/evolver/extensions/custom-experiments/extractor-column/experiment-start/broken-reference) second to prevent bubbles from forming in slow pump lines
* This is important because the initial blank should be based off of filled straws
{% endhint %}
**4. Volume and Media Preparation**
* Prepare 20 mL of media for the Chemostat/Turbidostat vials used in the experiment.
* For extractor columns, use a media volume of 15 mL to prevent the liquid level from reaching the photodiodes/LEDs.
* Use the pumps/slow pumps to fill lines with media
* Fill non-extractor lines and vials with media first and using a secondary set of extractor vials with media in them already [run the slow pumps](https://khalil-lab.gitbook.io/evolver/extensions/custom-experiments/extractor-column/experiment-start/broken-reference) second to prevent bubbles from forming in slow pump lines
* This is important because the initial blank should be based off of filled straws

Secondary Extractor Vial (Left) Experimental Extractor Vial (Middle) Non-Extractor Vial (Right)
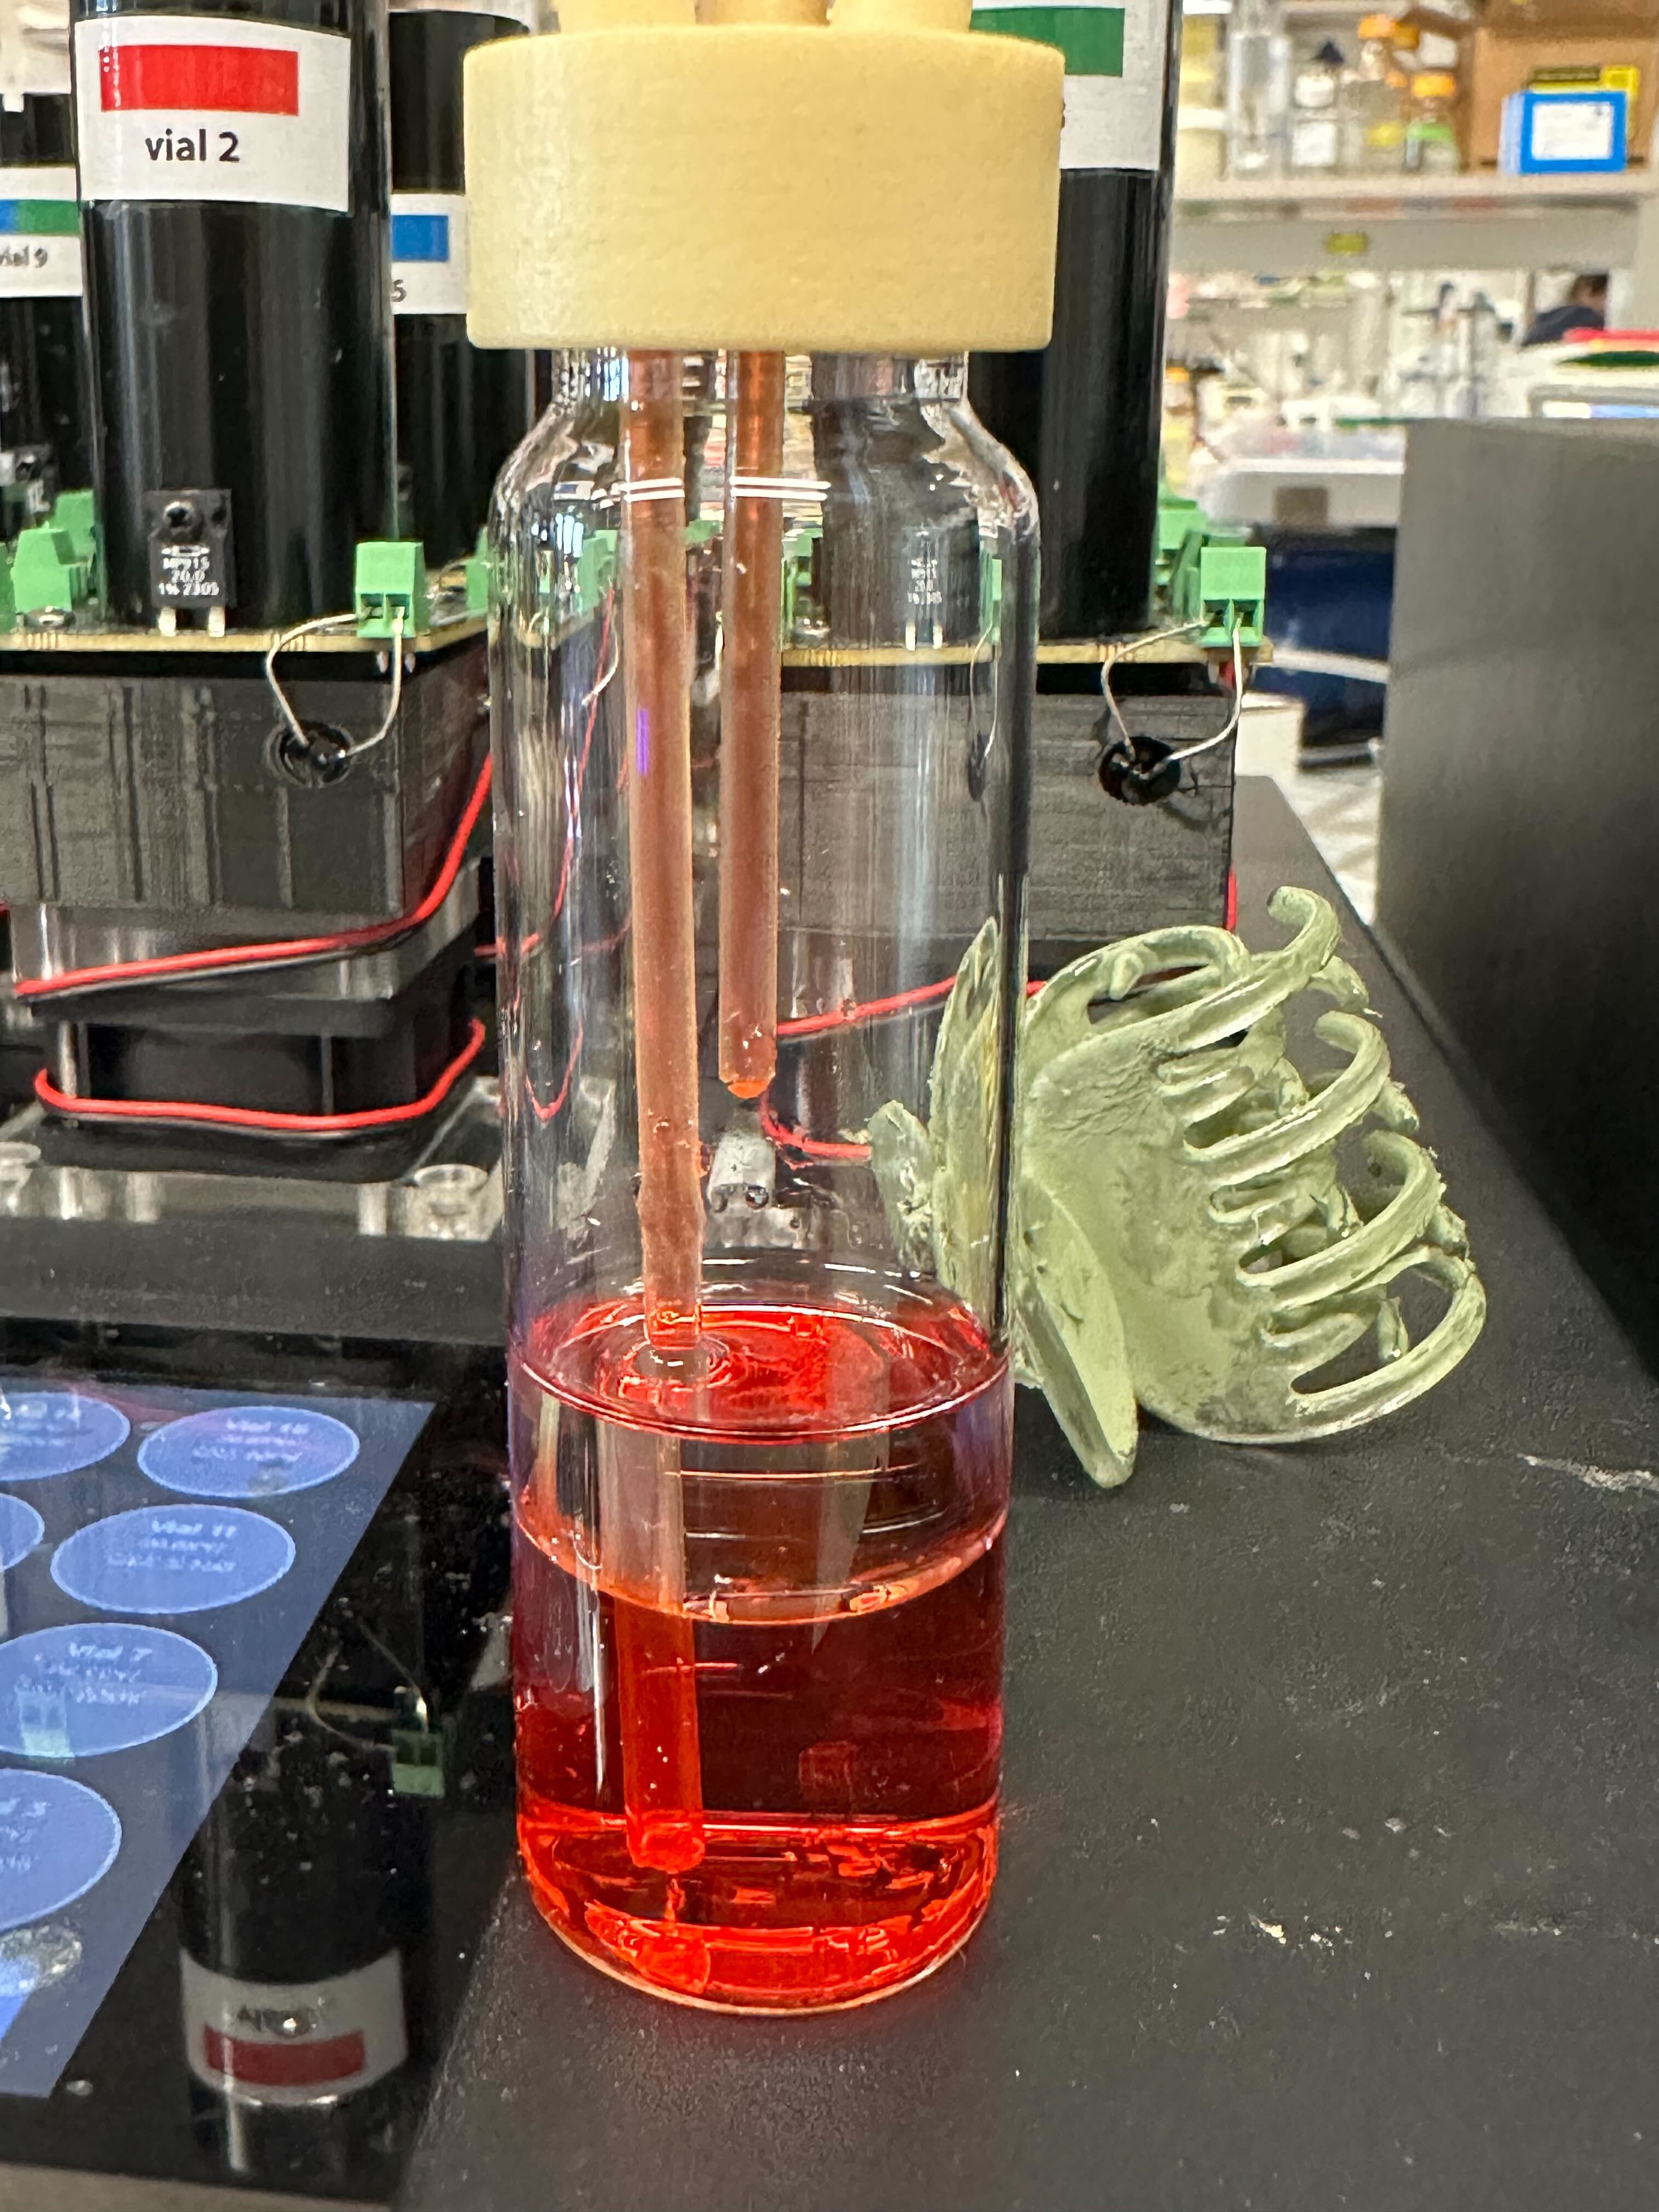
Extractor Vial with straws properly filled (Ready for blank)

Acrylic blocks underneath can change the positional height of the vial
 {% endhint %}
**7. Ensure Cleanliness of Vials**
* Clean vials thoroughly to avoid stains, condensation, or drippage.
* Make sure there are no residual liquids that can impact the sensor readings.
**9. Adjust if Necessary**
* Make adjustments to tubing, pumps, or vial positions if liquid levels are incorrect or if the system does not operate as expected.
**9. Start the Experiment**
* Once all the checks and setups are completed, start the experiment with your [extractor script](https://khalil-lab.gitbook.io/evolver/extensions/custom-experiments/extractor-column/experiment-start/broken-reference).
* Regularly monitor the system to ensure it is functioning correctly throughout the experiment.
{% hint style="info" %}
The extractor will perform 2 blanks. One directly after starting the experiment and another 15 minutes into the experiment, the second blank can be changed in the [extractor script](https://khalil-lab.gitbook.io/evolver/extensions/custom-experiments/extractor-column/experiment-start/broken-reference).
{% endhint %}
\
By following these steps, you can ensure a successful setup and operation of the two-column extractor system, minimizing errors and ensuring accurate experimental results.
---
# Agent Instructions: Querying This Documentation
If you need additional information that is not directly available in this page, you can query the documentation dynamically by asking a question.
Perform an HTTP GET request on the current page URL with the `ask` query parameter:
```
GET https://khalil-lab.gitbook.io/evolver/extensions/custom-experiments/extractor-column/experiment-start/setting-up-your-experiment.md?ask=
{% endhint %}
**7. Ensure Cleanliness of Vials**
* Clean vials thoroughly to avoid stains, condensation, or drippage.
* Make sure there are no residual liquids that can impact the sensor readings.
**9. Adjust if Necessary**
* Make adjustments to tubing, pumps, or vial positions if liquid levels are incorrect or if the system does not operate as expected.
**9. Start the Experiment**
* Once all the checks and setups are completed, start the experiment with your [extractor script](https://khalil-lab.gitbook.io/evolver/extensions/custom-experiments/extractor-column/experiment-start/broken-reference).
* Regularly monitor the system to ensure it is functioning correctly throughout the experiment.
{% hint style="info" %}
The extractor will perform 2 blanks. One directly after starting the experiment and another 15 minutes into the experiment, the second blank can be changed in the [extractor script](https://khalil-lab.gitbook.io/evolver/extensions/custom-experiments/extractor-column/experiment-start/broken-reference).
{% endhint %}
\
By following these steps, you can ensure a successful setup and operation of the two-column extractor system, minimizing errors and ensuring accurate experimental results.
---
# Agent Instructions: Querying This Documentation
If you need additional information that is not directly available in this page, you can query the documentation dynamically by asking a question.
Perform an HTTP GET request on the current page URL with the `ask` query parameter:
```
GET https://khalil-lab.gitbook.io/evolver/extensions/custom-experiments/extractor-column/experiment-start/setting-up-your-experiment.md?ask=